Early Spring Project: The Deck. (Page under construction, like the deck...)
This all started from five little words: 'A deck would be nice...'
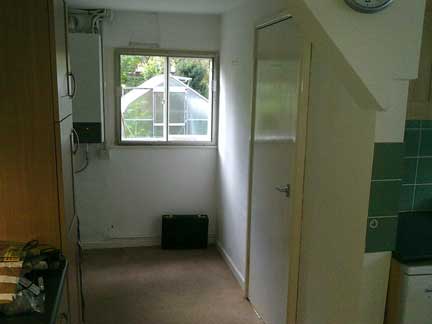
When we bought the piece of land behind the house there was no access to the plot from the house (other than by climbing out of the kitchen window!) so we decided to put a door in where the window was.
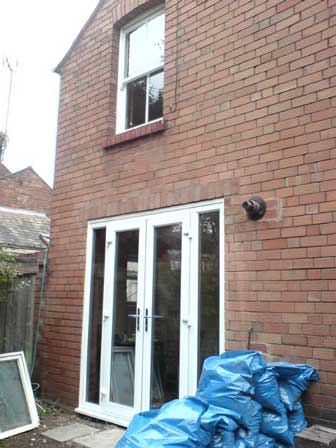
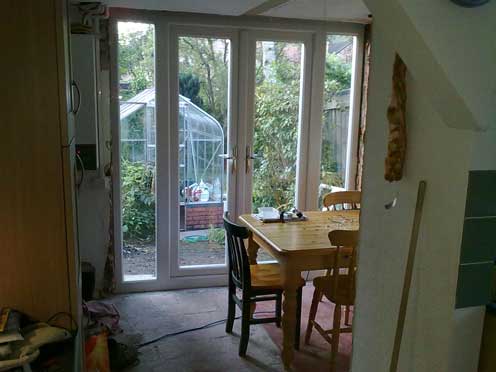
Late last year we had some French Windows (or is that French Doors?) put in to allow us access to the garden at the back of the house.
As ever there was little bit of 'scope creep' in the project and my original idea of just cutting out the brickwork under the existing window grew to putting a large lintel in place and having a decent sized pair of doors, with side glass panels, fitted. This was too much of a project for me to undertake so we hired a builder to do the critical lintel fitting (the wall the lintel was fitted to was a gable end and I thought it better to let a competent builder do the job, he also did the job in a day and half.)
Whilst the builder was there we got him to take a nonstructural internal wall out to give us a usable space where the downstairs toilet was. The kitchen side of the job is barely started, that's another project for the future!
Anyway, back to the deck: The ground outside the new windows was just soil with a few bits of scrubby shrubbery growing in it; the level of the ground was also very high in relation to the house damp proof course.
The plan: lower the ground level outside the house and build a deck all the way across the back of the property.
Once the deck is in place put a new shed on the end of it and knock down the old shed ready for the construction of my brick built workshop / shed (yet another project to be completed in the not too distant future).
The lowering of the ground was carried out during a particularly sunny week at the end of April.
We took the level down in two passes.
We cleared the ground and carted off the topsoil (this has been stacked on the vegetable plot in rows ready for the building of raised beds over the winter. Whilst digging the soil it was passed through a screen to remove the larger stones (of which there were plenty!) and bits of old brick rubble.
There was an old shed which had to be knocked down (two old sheds in the garden in total).
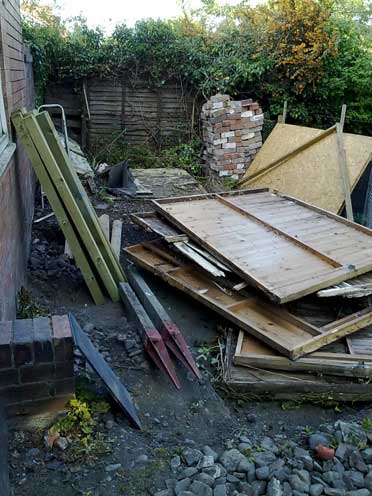
After flattening the shed it was taken to bits with a mallet and some of the remaining good timber saved for use on other jobs in the garden (the framing is now reincarnated as frames with netting stretched over them to cover our vegetables during the early stages of growth, the boarding has been cut up and will do good service as kindling for the wood burning stoves next winter)
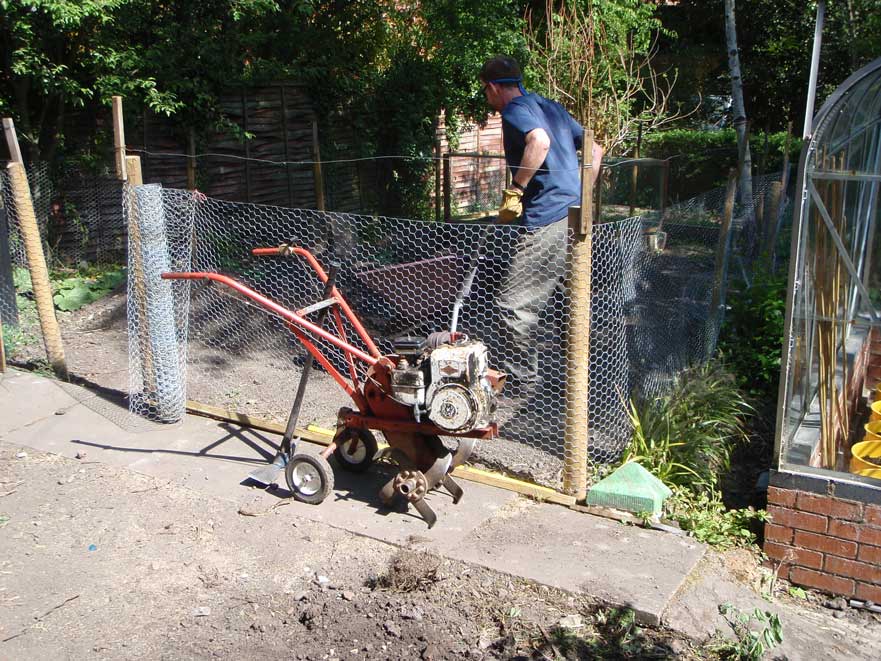
We found the easiest way of moving the soil was to run our trusty old 'Merry Tiller' rotavator over the ground first and then shovel the dirt through the screen and barrow it away. The Merry Tiller did a great job, dealing with bricks and the like with great ease.
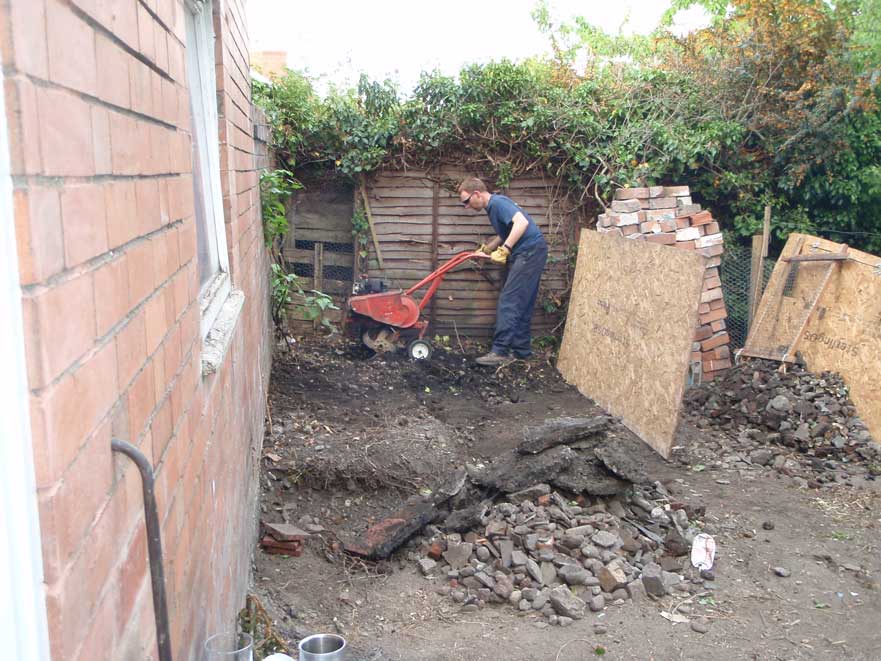
Rotavating
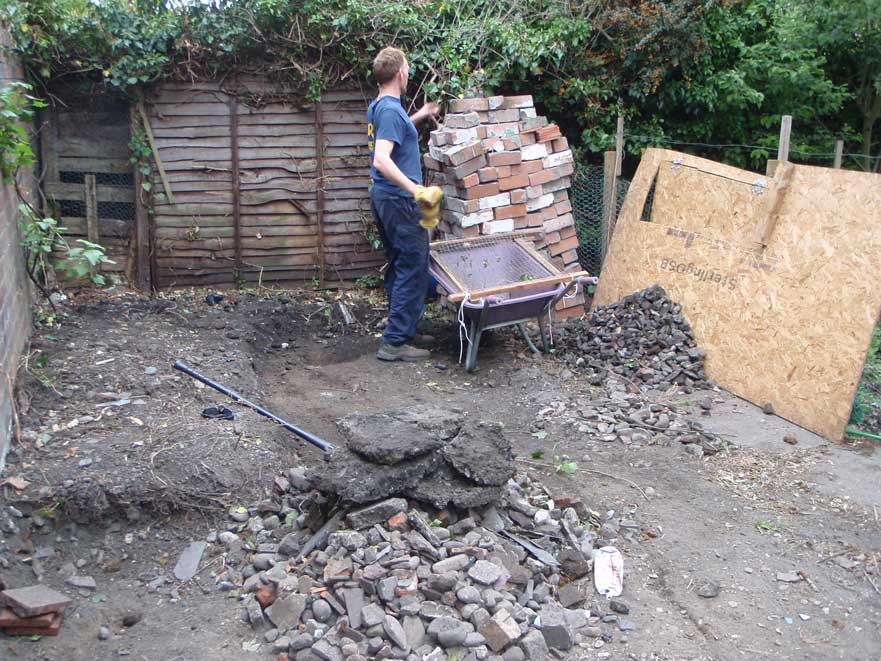
Passing the soil through the screen...
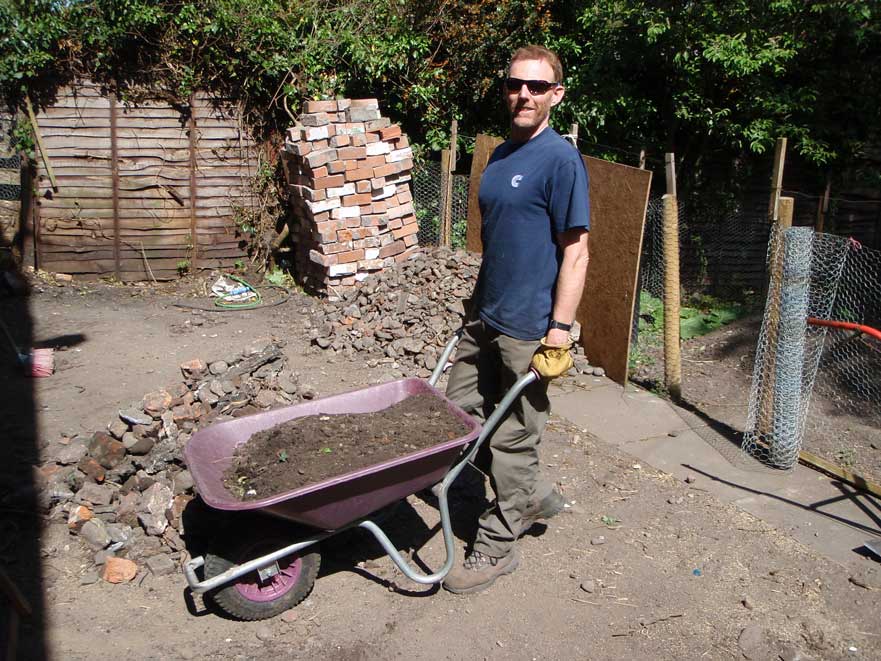
Nice straight back...
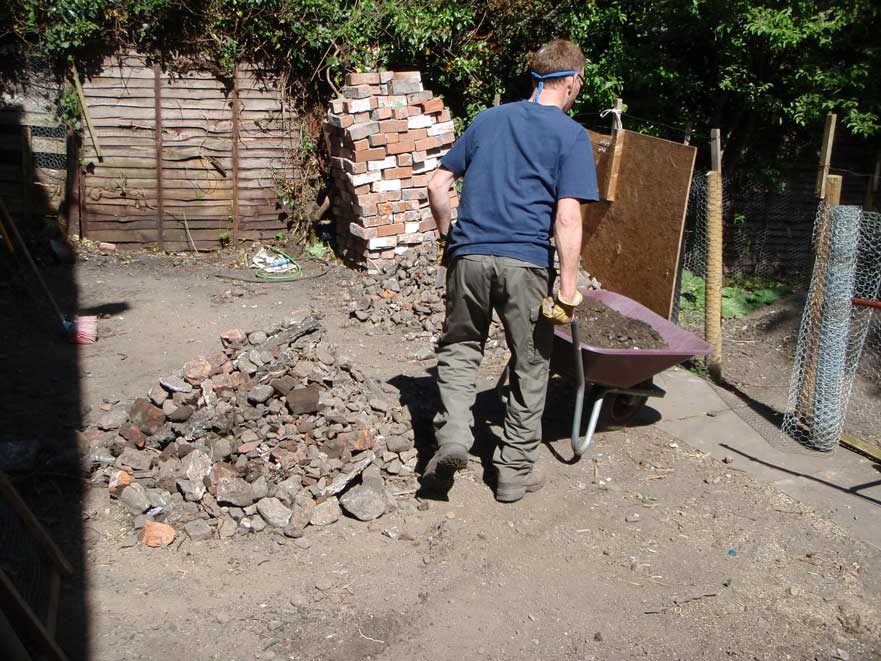
Carting away...
On to the vegetable plot.
(Merry Tiller and Mattock; a great combination!)
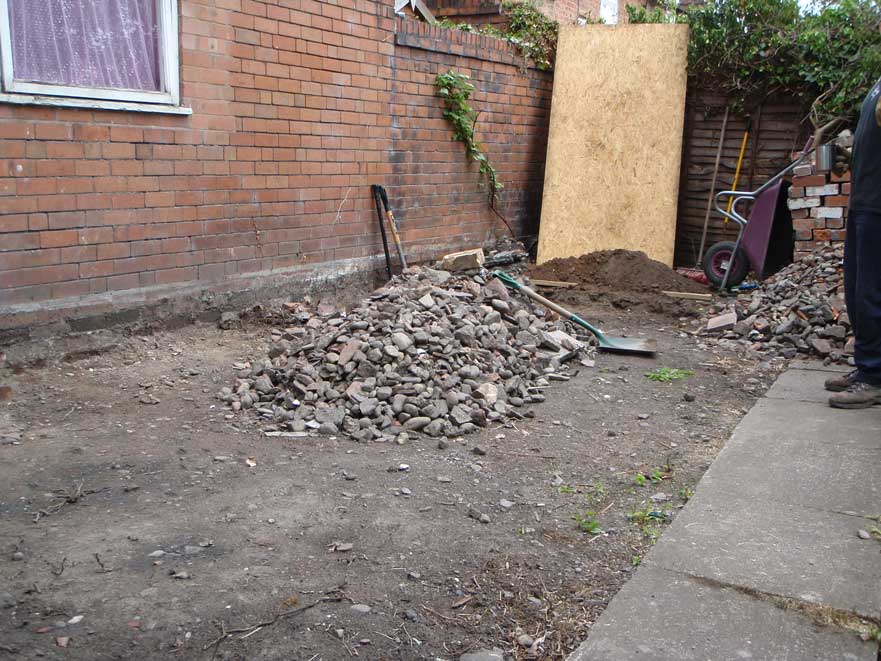
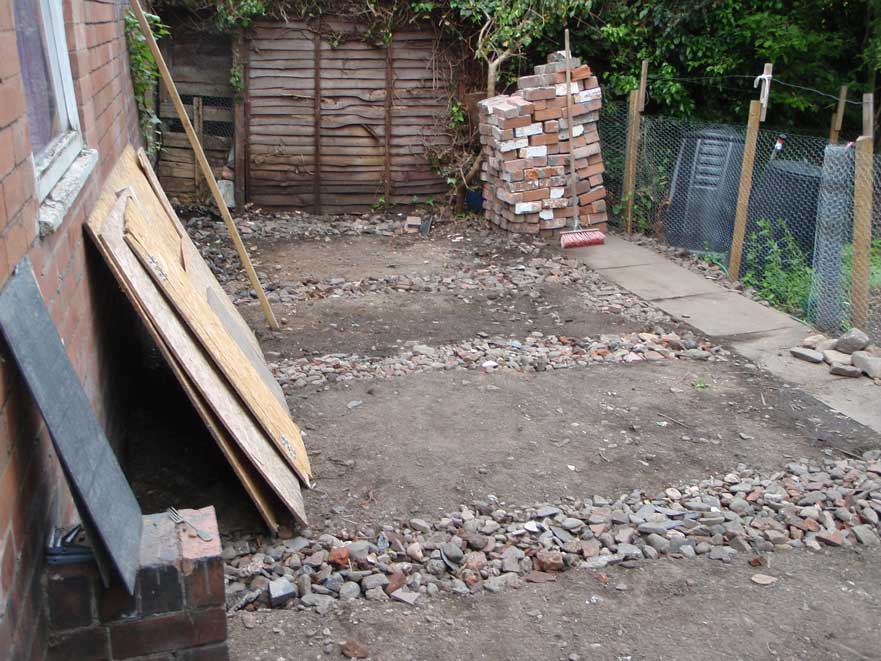
Once the site was cleared of soil we had a lot of stone and rubble left over.
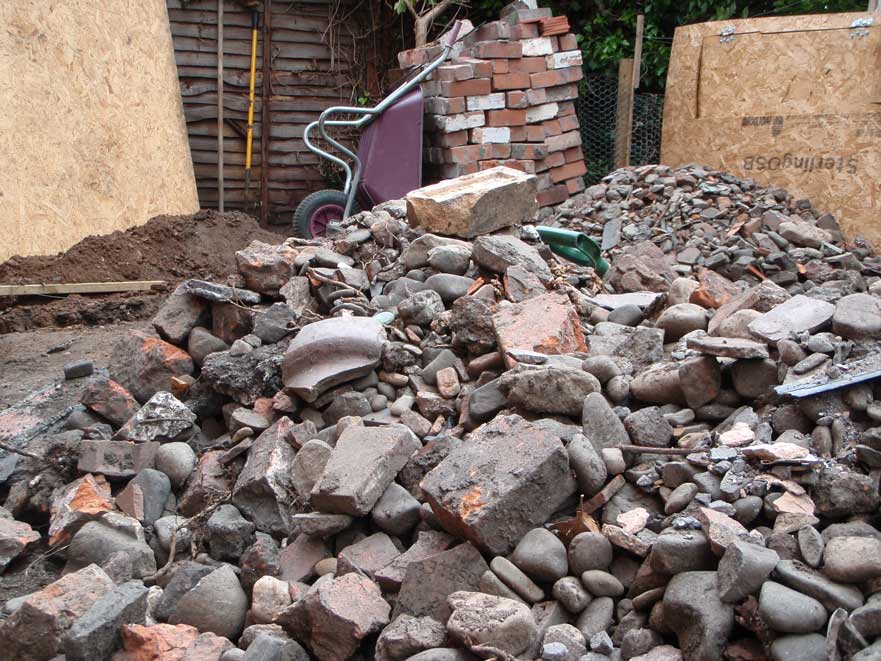
The cleared site (with heaps of rubble and the Blackcurrant we found growing beside the shed)
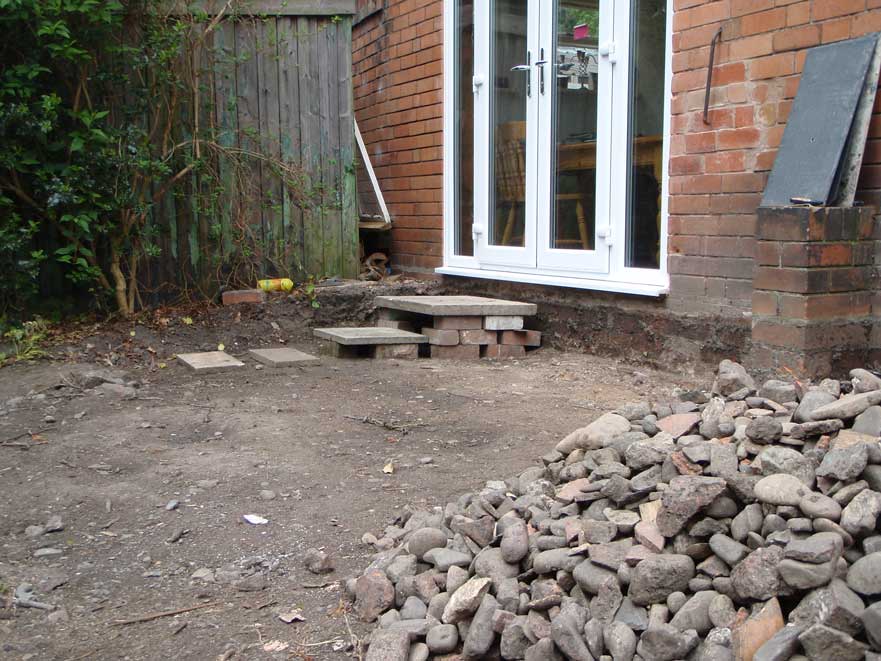
Finished level (Complete with temporary steps)
For the supports for the deck we decided to put six foundation pieces into the ground to support the deck joisting. These took the form of trenches 40 cm deep and 40cm wide coming out from the house wall towards the path way. These were back filled with the stone and rubble we'd removed from the soil prior to carting it on to the vegetable plot. We'll pour some concrete onto these and then build up a dwarf wall to the correct height and fall for the joists.
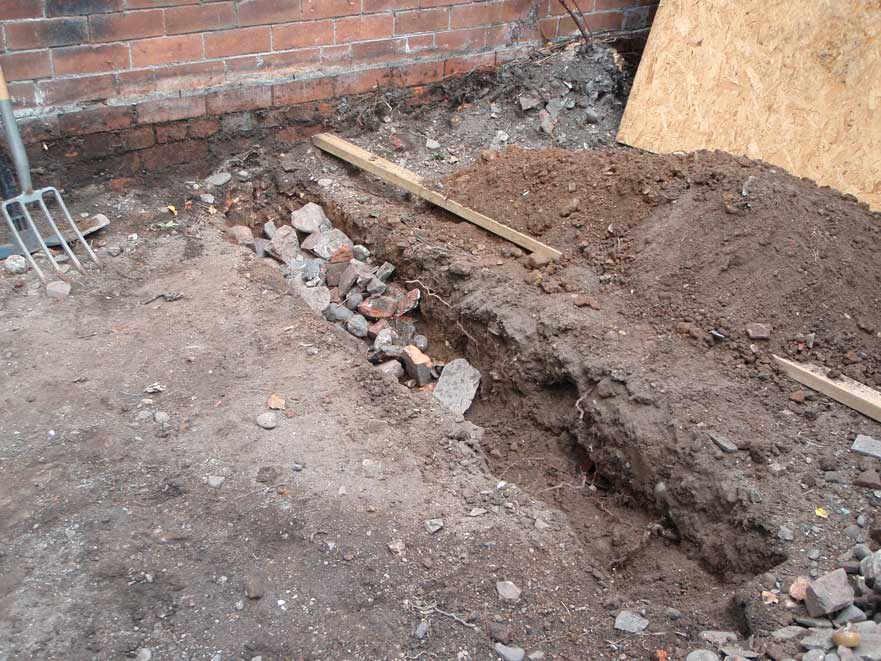
The six back filled trenches used up all the stone and rubble from the soil and also another 1.5 cubic metres of hard-core left over from the French Window hole being made. (We've cleaned and saved all the whole facing bricks from that job for another piece of work to do with the kitchen project when that happens)
The footings were then compacted using a compactor plate which we hired in for the weekend. We didn't finish the job as, rather disappointingly, the compactor broke down before we'd finished the job. The hire company has said they will give us the use of another one next weekend at no cost so we can complete the job. The biggest annoyance is that we'll only need the machine for about fifteen minutes to complete the job. Oh well, one of those things.
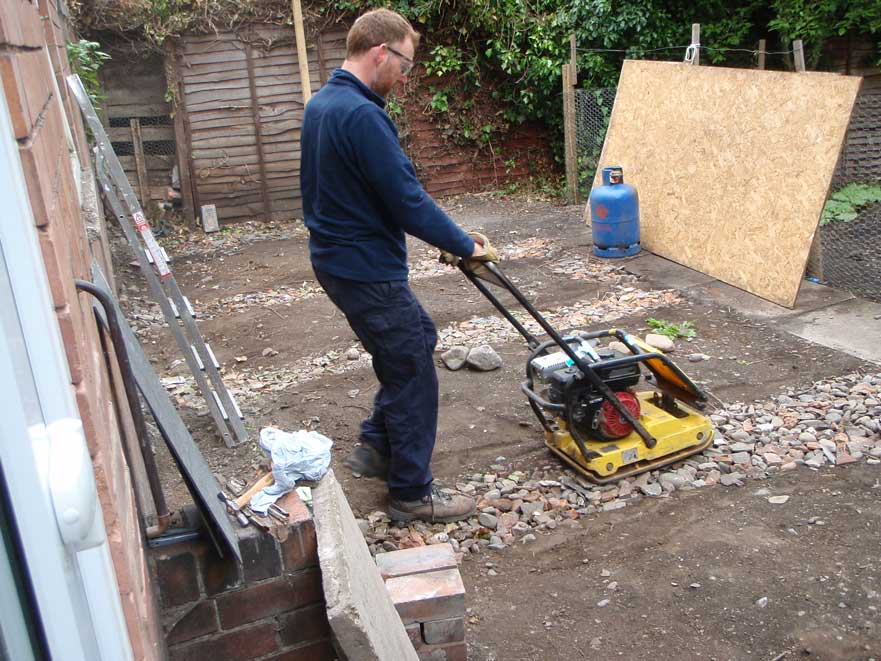
Note the flat appearance of the strips to the left of me; these have had about ten or so passes with the 'Wacker' plate compactor. The unit is pretty fun to use once you get the hang of it. It progresses slowly forward under the combine action of the vibration from the plate and the engine. The more compact the ground the quicker it moves so you can get a feel for how compacted the ground is becoming as it picks up speed. Turning at the end of the run is just a case of swinging the whole machine around on its axis, not difficult because the base plate is smooth. You can try and hold the unit back but it's very hard work and it's much easier just to keep going back and forth over the ground to reach the degree of compaction required rather than trying to do the job in a single pass. Hearing protection is a must with this machine (I have EMTec noisebreakers in my ears, not easy to see in this photo) and, as ever, eye protection. Compacting the five foundations (before the machine broke down) took less than an hour.
After compacting the foundation trenches we then surveyed the site. We don't have any photos of this since it took two of us to do the surveying (and we forgot to photograph the job!)
We used a Cowley level to get the relative levels at three points along each of the foundation strips: one level close to the wall, one level midway along the foundation and one at the outer end of the foundation. We repeated this for all six of the foundation strips and then drew a picture of the site levels. In order to get an average reading at each point we place a square of plywood about 30 cm by 30 cm on top of the foundation strip, under the measuring staff, at each point.
We needed to know the the levels at each point relative to the underside of the cill of the French doors since this is what the top of the decking will be positioned to (actually we are aiming for a level 5 mm below the bottom lip of the cill to all room for the uPVC cill to expand and contract)
Below is the surface we plotted in Excel:
We then sketched up the dimensional 'stack up' of the deck board and joist combination and subtracted this from each of our survey levels. This told us how much space we would have under the deck and joists to build the supports. At this point we found that the levels at one particular spot were too high for us to use our planned approach of pouring concrete over the foundation strips and building a dwarf wall so another approach was needed.
We decided that we would still utilize the foundation strips but bed a concrete slab in mortar on top of the foundation strip and use additional joists to support the main deck joists. The pictures below show this far better than I can explain it.
But before we could do any of this we needed some materials:
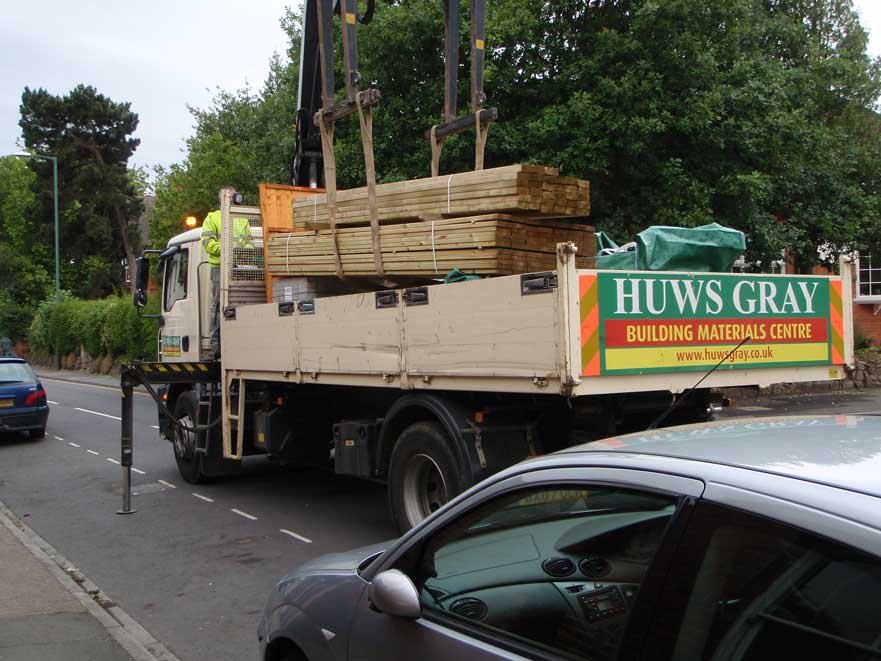
'DD' day (Decking Delivery day)
We chose Huws Gray as they are a local firm who offer free delivery and they offered a very competitive price for top quality decking. Here you can see the 77 3.6 metre decking boards and 33 3.6 metre joists timbers being delivered. A very quick and easy delivery but the moving from the road through to the back garden took a bit longer!
Back to the site:
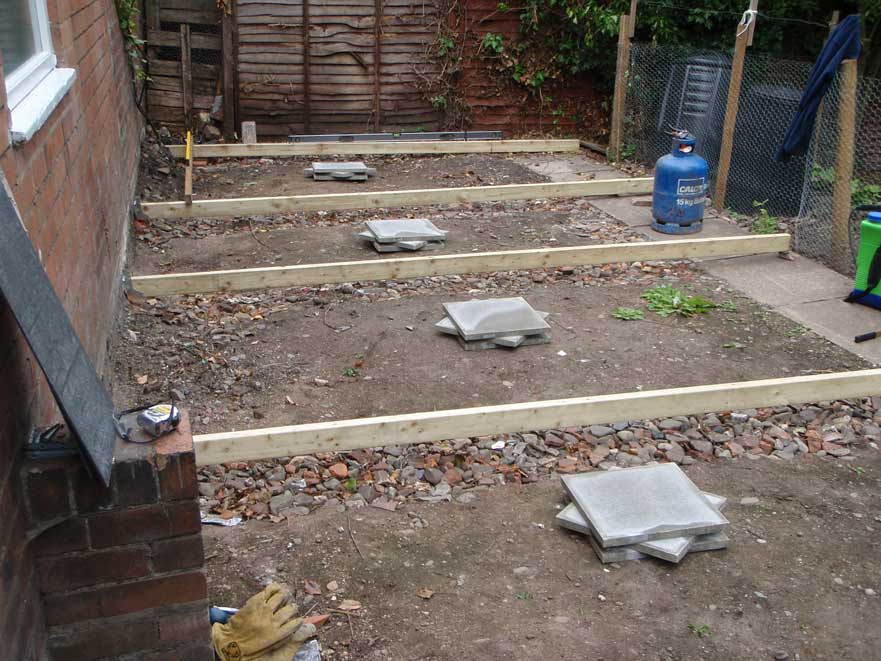
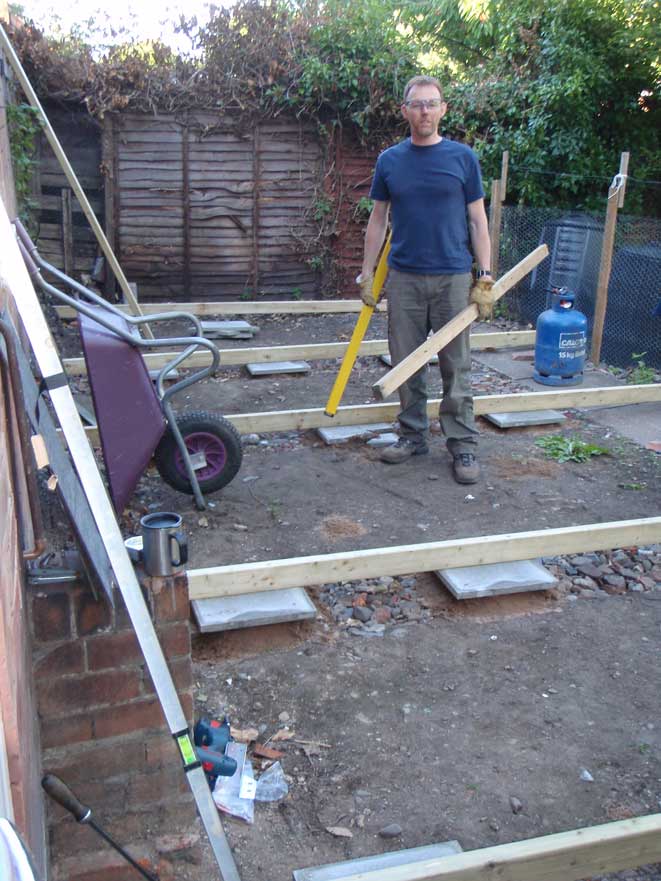
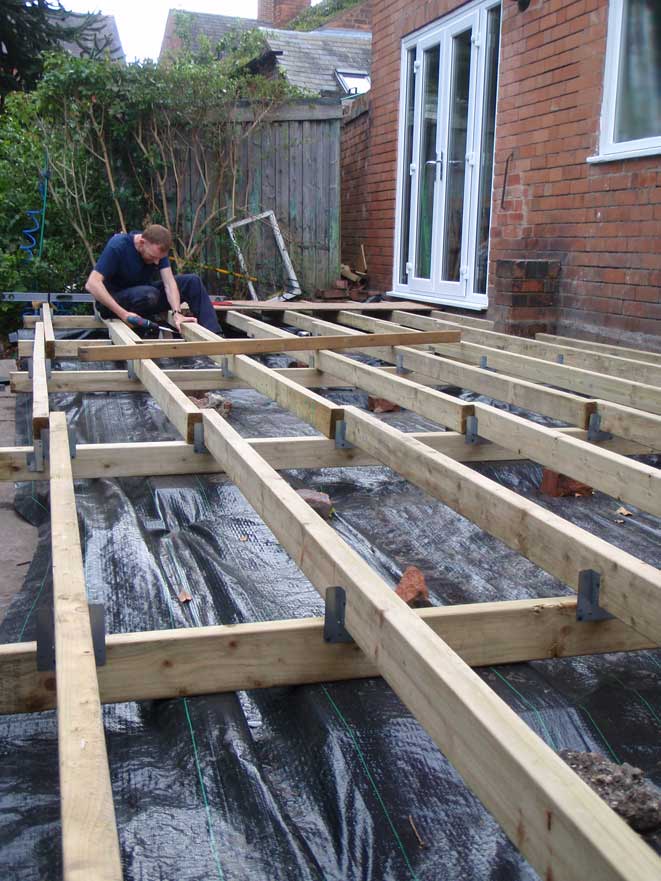
We cheated a little here and got the level of the joist ends at the house by temporarily fitting joist hangers to the wall (not all of the wall you can see here belongs to us and I didn't want complaints that I'd built a deck on to next door's property so the deck had to be free standing. We removed the joist hangers on next door's property before building the deck). The first one of the these was fixed under the French Doors so that we got the correct level. The others were set off this using a long, straight piece of wood and a spirit level to carry the level to the next support. (See top left of this photo)
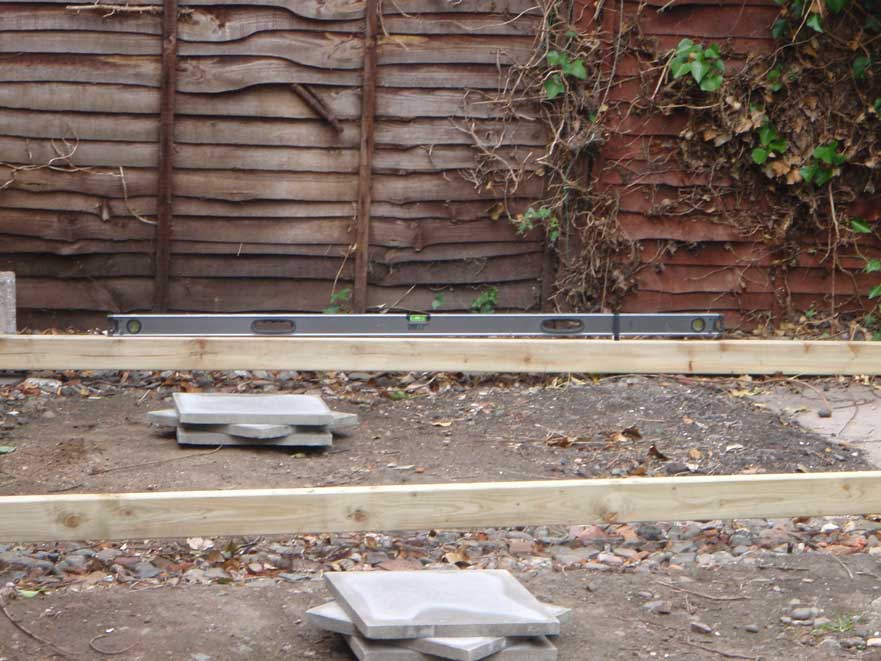
Next we set the fall of the joist; the deck has to have a slight slope on it to ensure that rain water drains off it rather than lying around on the surface. We chose to use a fall of 1 in 100 i.e., for our deck boards (3.6 m) that meant a fall of 3.6 cm from one end of the board to the other. In order to check the fall we have taped a small piece of wood to the bottom of another, long, spirit level so as to mimic this 1:100 fall. This means that when the joist has the correct fall on it the spirit level will 'read' level.
Having set the joists ends at the house end level to each other and set the fall of each joist (by putting wedges under the path end of the joists) we were able to see how much of a mortar bed was required for each pad. The joists were then put to one side and the cement mixer fired up ('Plugged in' to be more accurate: it's electric!).
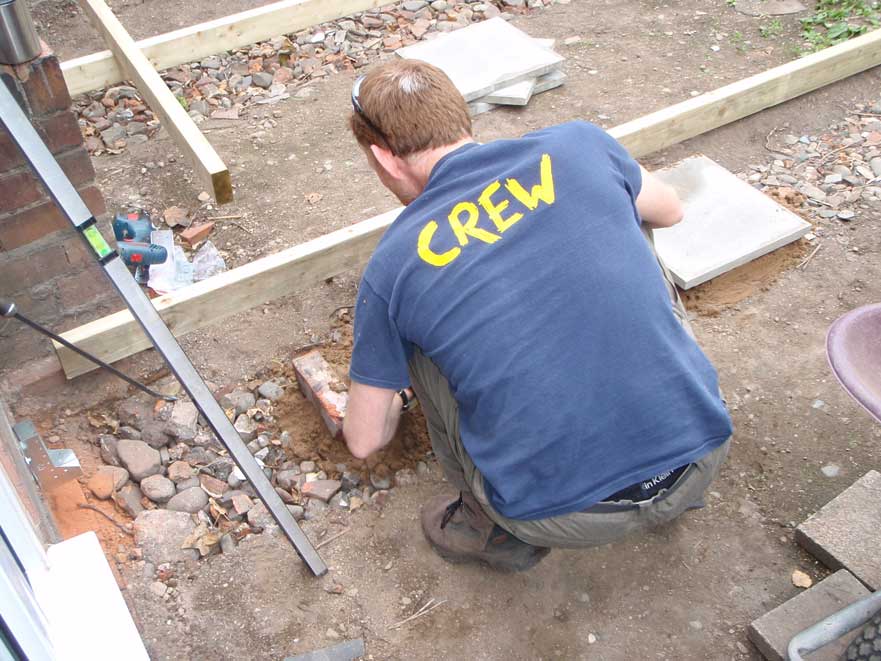
At each support pad point we shoveled a pile of mortar bigger than we needed. We the carefully placed a concrete slab on top of the mortar and then adjusted the height of the pad by pressing it down until the correct level was achieved. To do this meant removing and replacing the joist and the spirit level several times but great care is needed so as not to disturb the concrete slab whilst the mortar hardens once the correct level is set.
The end result looks something like this:
After we had completed the leveling of the joists we left the whole lot to set for a week (weekend over, I had to go and earn some money to pay for all this...)
One very important thing to do before the deck is constructed is to fit the weed control membrane; If you don't fit this you'll have the near impossible task of trying to kill of the weeds which inevitably grow up between your deck boards. We chose a very heavy duty, water permeable grade as we didn't want small pond forming under the deck.
We laid the weed membrane over out concrete pads as it was easier than trying cut the membrane around the pads and less likely to result of weeds finding a way through.
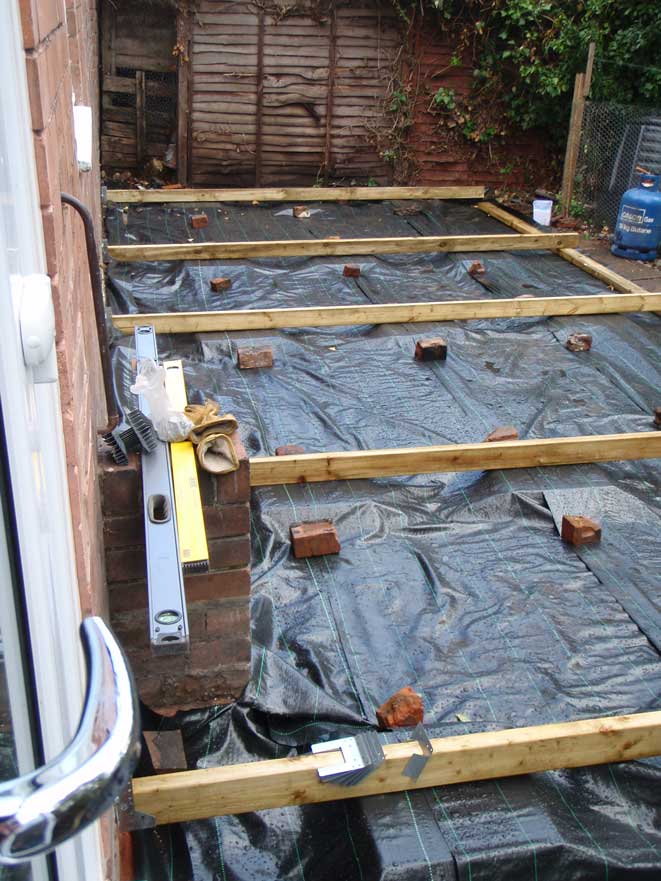
The bricks are holding the weed membrane down. We fitted plastic membrane pegs once the whole area was covered. It was raining and windy when we put the weed control membrane down so the bricks were essential.
With our pads in place and the weed membrane down we started to build the deck support structure.
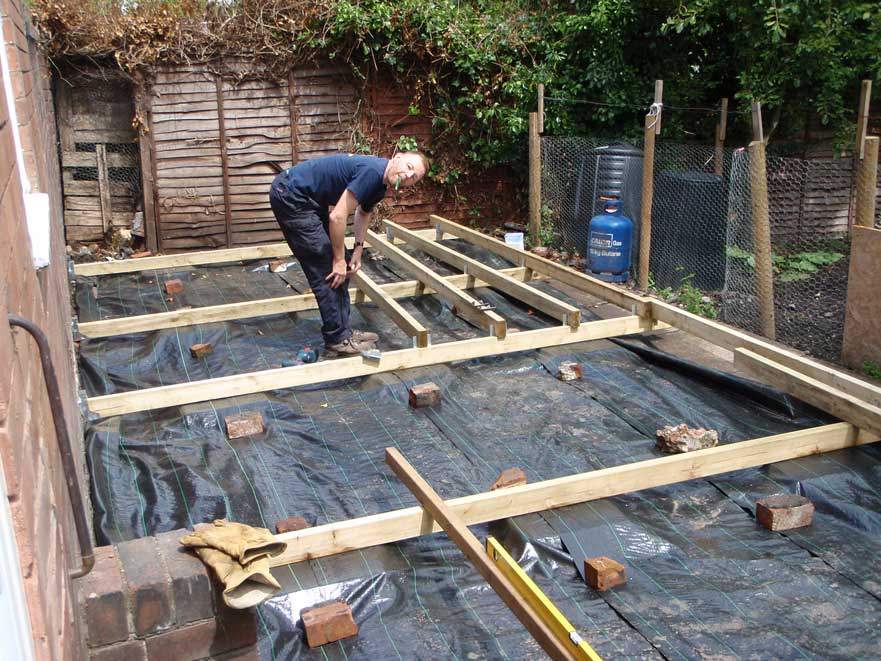
We used truss clips to hold the joists together. The truss clips were screwed on as at this point we didn't want to be knocking the support framework about. Al the main support joists were pulled away from the wall of the house as they are below the level of the damp proof course and would be prone to rotting (even though all the timber used in this project is pressure treated) if left in contact with the wall. We made a gap of about 10 mm minimum to ensure that dust could not build up and bridge the gap between the end of the joist and the wall.
The more joists we installed the more solid the whole frame became but as we screwed the joists together there was some slight movement in the main support joists and it was necessary to insert a few slate 'shims' over the concrete pads to ensure that joists were solidly supported. None of the shimming took the deck frame out of level or reduced the fall.
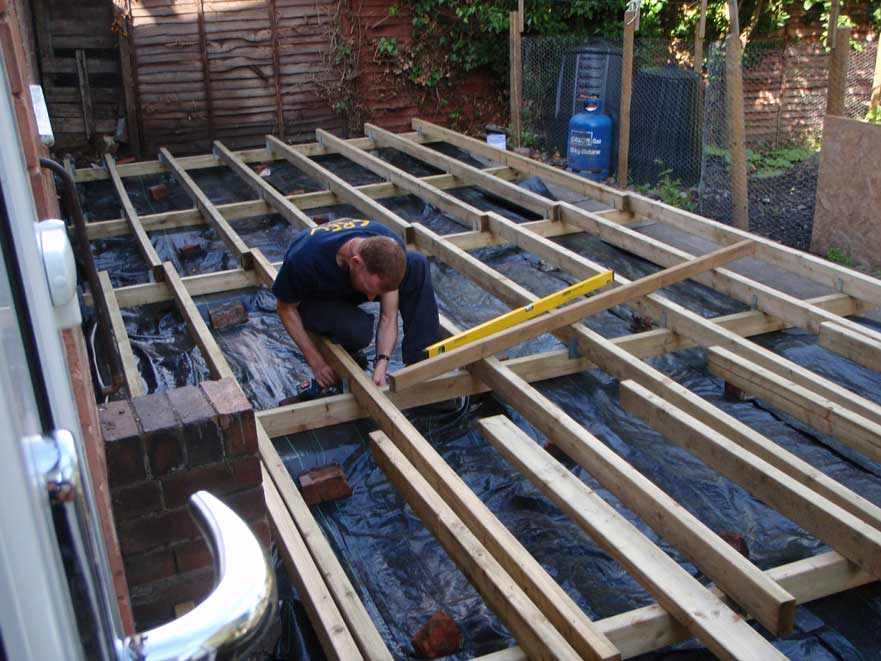
Where we had an overlap in the joists we screwed the joists together. This made for a stiffer deck support in areas which will probably be heavily used.
A note on fixings: It is necessary to use the correct grade of fixings for the newer types of timber preservatives. Use either stainless steel fixings (if you have the money) or screws with coatings approved by one of the timber treatment bodies. If you use ordinary bright plated screws they will rot quicker than you would have thought possible when in contact with CCA or Tanalith timber treatments.
The deck support structure nearly complete.
With the support frame complete it was time to fit the deck boards. The first attempt at positioning the initial deck board didn't work well and we had to lift this board and think again about how we would view the boards. One problem with our site is that nothing else in the garden runs parallel to the house, the path in front of the deck runs at and angle, the greenhouse is aligned with the path, etc., so it was important to consider what position we would view the boards from most often and make this our eye line. We decided that the boards would have a greater visual impact if the ran directly away from the French Doors as we sit just inside these and eat our meals, enjoying the view over the garden.
With this in mind we loose laid about ten boards (laid without any fixings) to get the eye line right. Once we were happy with this we clamped one of the boards down and then measured from it to the first board and set the first board parallel to this board. We then screwed the first board down and we were off!
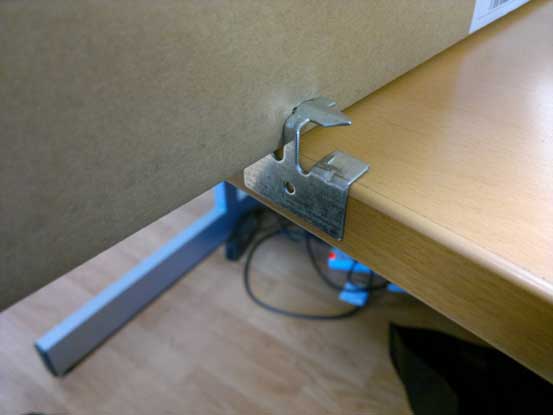
A quick view of a deck clip showing how the clip secures a board to the joist (or in this case a cardboard box to my desk at work) The hole in the side of the clip is for a screw to secure the clip to the joist.
We have used deck clips for our installation but the first board still has to be screw fixed down. Once this board is in place the deck clips are driven into the edge of the deck board and screwed to the joist (We used Sabre Fix deck clips which came with no instructions and a call to their technical desk resulted in some possible dazed and confused person (or alternatively a clueless numpty) telling me that 'you just hammer them in'. We tried this and it just doesn't work; two problems, one being that there is nowhere to hit the clip, the second being that the clip bends out of shape if you attempt to drive it under the board. Our solution was to use a 9/32nd inch deep, 1/4 drive socket to fit over the point of the clip to enable us to drive it into the wood and to use a spacer to hold the deck board off the joist so as to avoid trapping the deck clip whilst fitting it. Once we had developed the technique we managed to lay about five planks per hour.
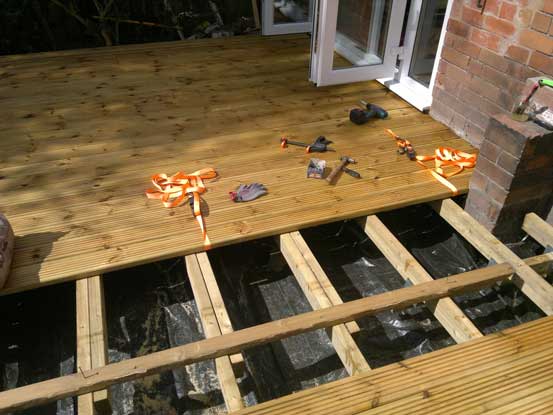
Once the deck clips are fitted to the board the next board is placed against the clips and, whilst being stood on (heels on the deck board, toes on the cushion block to stop it from bouncing. Not also the white soled deck shoes; the first few boards were still raw (bare, pressure treated (with timber presservatives) and prone to pick up any dirt ftom my everyday work shoes) and I didn't want to mark them prior to oiling with deck oil. We oiled the rest of the boards before fitting them), hit with a sledge hammer. The edge of the board is protected from the hammer blows by a sacrificial piece of timber. The technique which works best is to start at one end of the board and progress to the other end. With practice the board can be driven ion one pass but we found that if the starting end was secured with a ratchet strap it prevented the board from pivoting about the first and second deck clips. The image below shows the strap in place: we placed the strap far enough back so that the pull is shared over several boards.
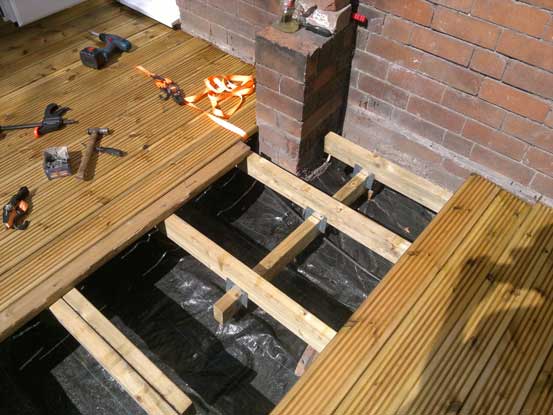
Also shown in this picture is the 'trimmer' used to stiffen the overhung end of one of the joists. This works by spreading the load from the rear joist between the two adjacent joists. The end result was a pretty stiff joist despite being overhung.
Some of the boards were not completely straight (not surprising given the length of the boards). Again, we used ratchet straps to facilitate pulling the planks true whist fitting the deck clips. The picture below shows the straps in place to true up the board being fixed.
We carried on with the job until all 76 boards were fitted. The last couple of boards had to be screwed down as there wasn't space to swing the hammer to fit them with deck clips.
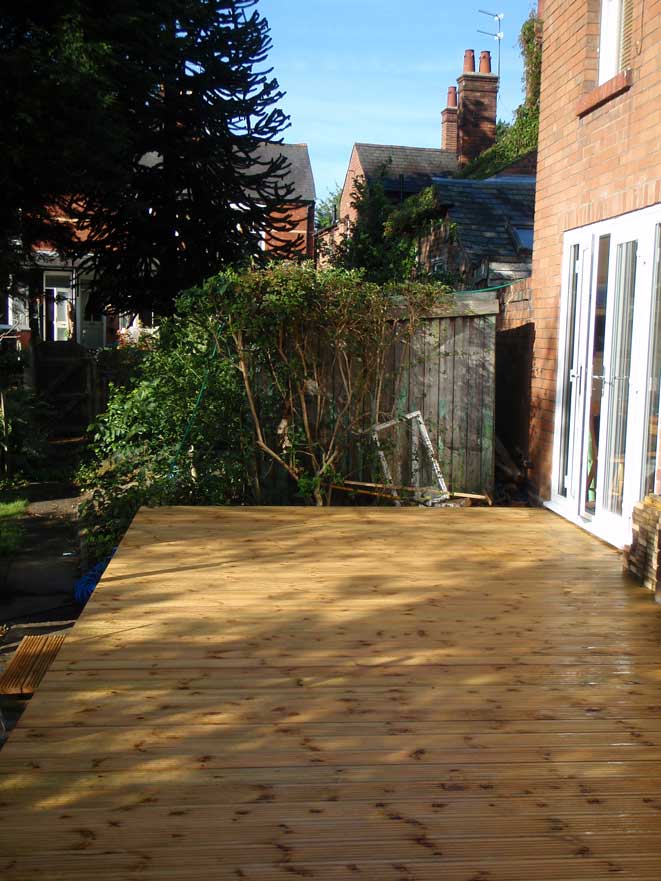
The photo below shows the boards laid:
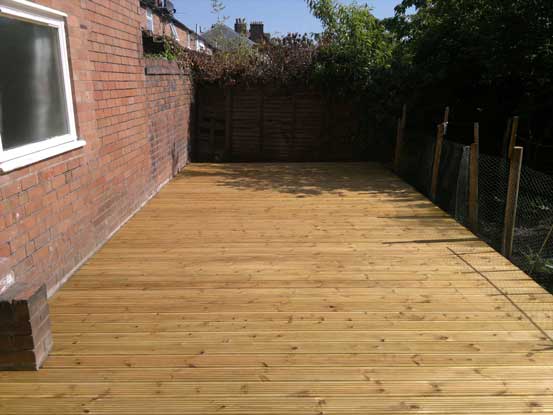
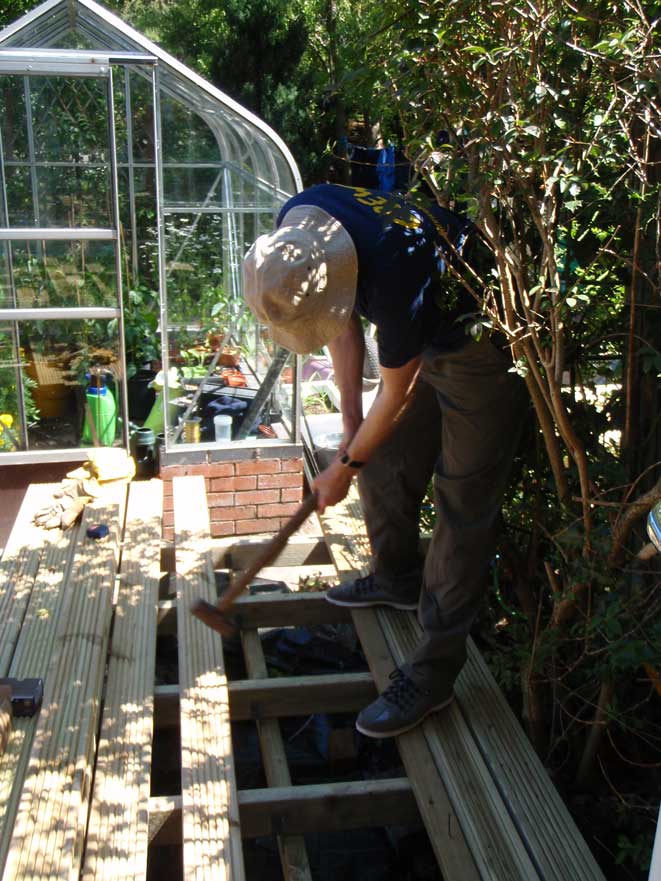
Next job was to trim the free end of the boards back to the correct length: (View of the shed that is due to be demolished at the end of the deck)
We still need to get hold of a suitable balustrade for the front edge and put the shed up at the far end of the deck. We put an armoured cable under the deck before we built it; this will be used to get some light and power into the shed.
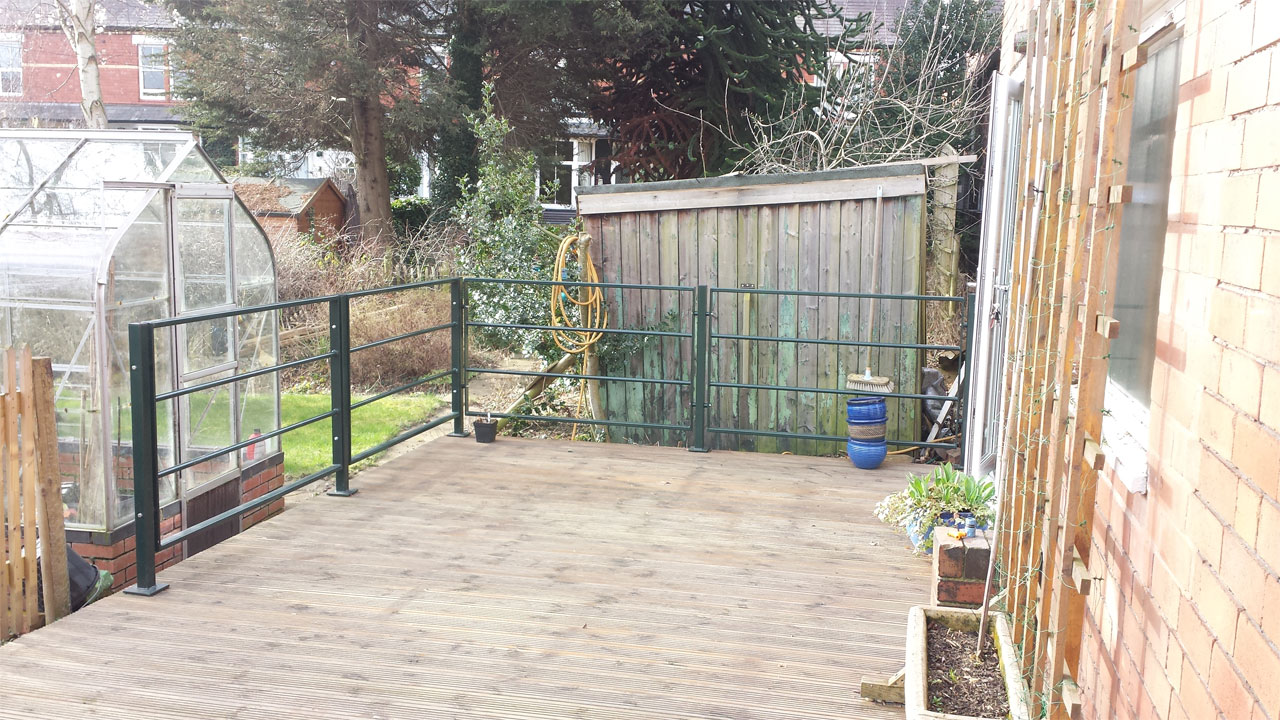
Once the balustrade is fitted we'll break out the Pimm's and enjoy a drink to celebrate. (Update, we had the Pimms and got side tracked on other jobs for a year or two but here are the pictures of the homemade balustrade we finally put up)
Updtae 2024: We built this deck in July 2011 and now, in March 2024, I have had to change one, single board due to the board rotting. I can only put this down to a failure of the pressure treatment process as all of the rest of the boards look to be in good condition after nearly thirteen years of use.
Statistics so far:
Soil removed from deck area: circa 17 Cubic metres
Materials brought onto site: Soft sand 250 Kg
Cement 50 Kg
Materials removed from site: Nil
Fuel used so far:
Petrol: 4 pints
Tea: 8 pints
Beer: 2 pints
© Copyright 2024 D G Q Services Ltd